
This document describes how to locally build the latest Sowillo firmware for the Sowillo IoT board on Windows.
Please contact info@sowillo.com for any questions. Instructions for Windows.
To Buy IoT SOWILLO boards:
-
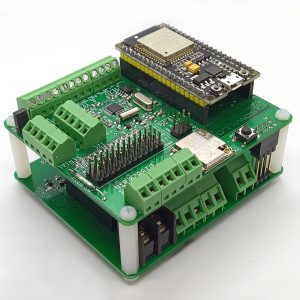 Sowillo IoT board$30,00 – $96,95
 -
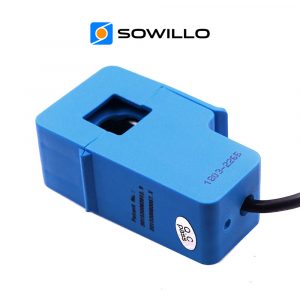 SCT-013-15A non-invasive AC current sensor$9,23
 -
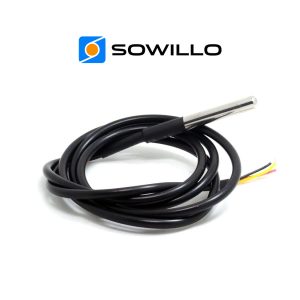 D18B20 temperature IoT sensorProduct on sale$3,46
Build Sowillo firmware with patched ESPhome on Windows
1. Install python
Chose the appropriate python version for your system on python.org and download it.
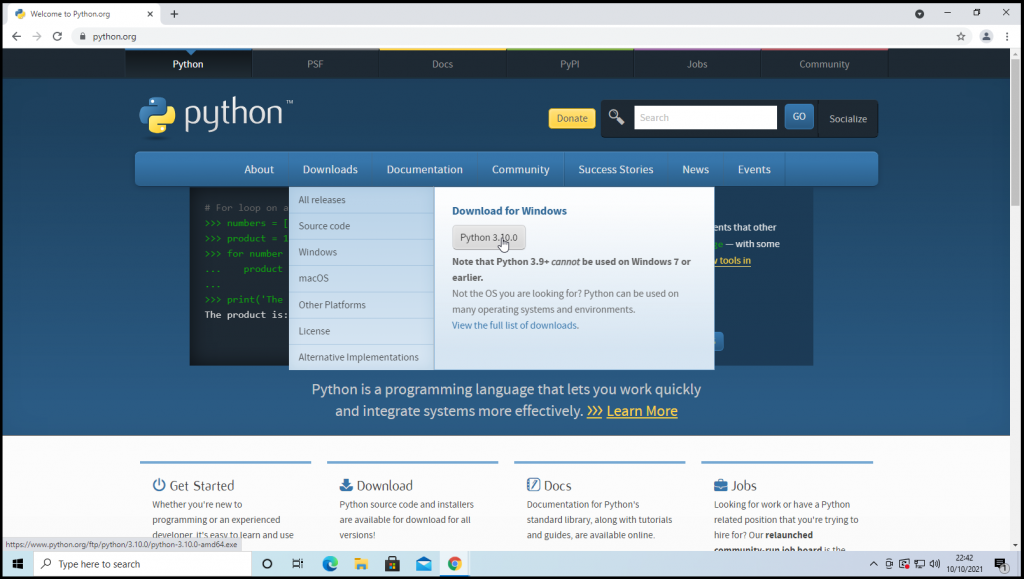
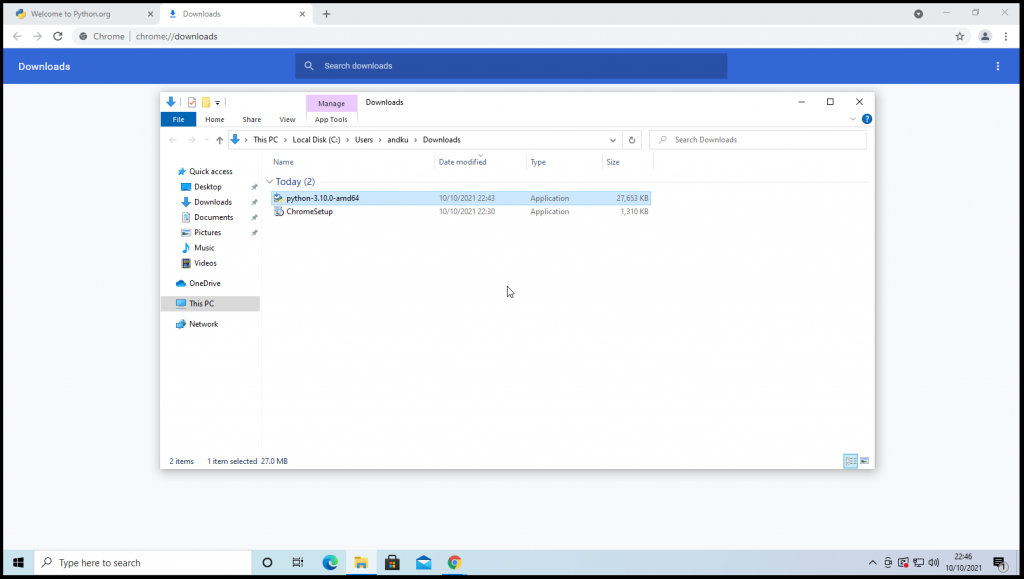
Run the installer.
On the first installation dialog select the option “Add Python to PATH” or “Add Python to environment variables”, this step is important, so far you will not be able to run python from windows console. If you missed it – you can add it manually later using “System Utility” in “control panel” on your Windows
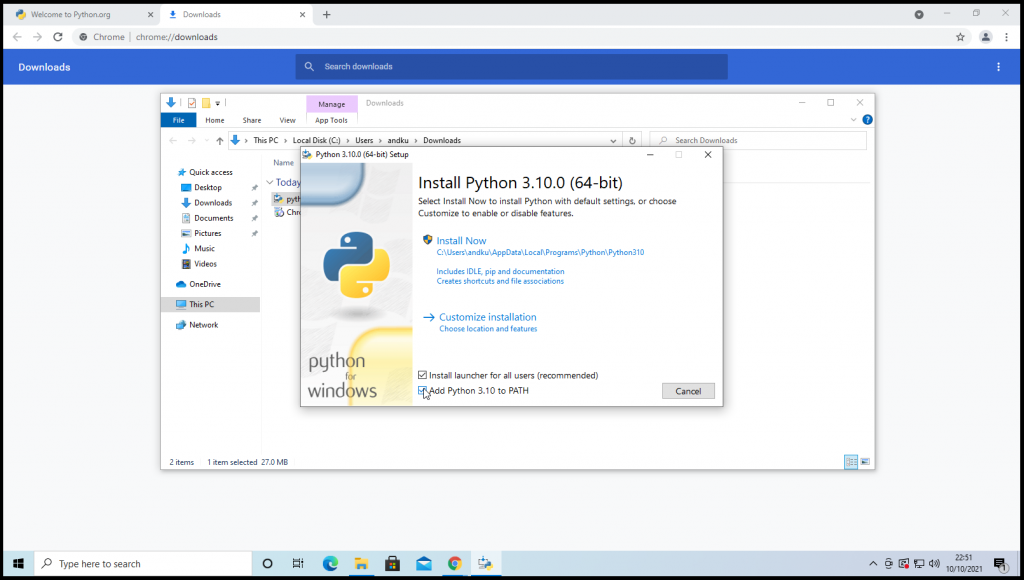
In case if you forgot to add the option “Add Python to PATH” – you won’t be able to run “python” command from your “Windows Command Prompt”. Instead you will see the message:
“Python was not found; run without arguments to install from the Microsoft Store, or disable this shortcut from Settings”
Just in this case do the following steps:
- Go to the python installation directory and find there python.exe binary. You will need the path to the directory that contains the python.exe
- Right-click on “This PC” and go to “Properties”.
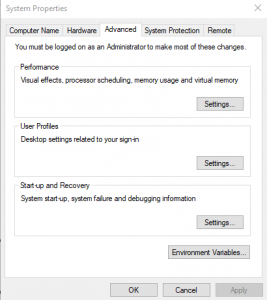
3. Click on the “Advanced system settings” in the menu on the left.
4. Click on the Environment Variables button on the bottom right.
5. In the System variables section, select the “Path variable” and click on “Edit”. The next screen will show all the directories that are currently a part of the PATH variable.
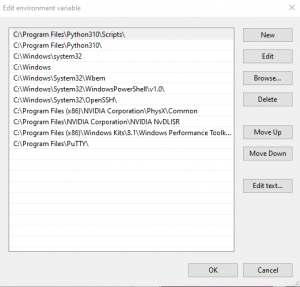
6. Click on New and enter the path to the Python’s install directory.
2. Download ESPHome:
Download the Sowillo’s patched ESPHome from https://rawcontent.sowillo.com/repository/binary-files-ext/latest/esphome-patched.zip ESPHome – is an open-source python package that allows you to build and flash firmware for ESP8266/ESP32 boards, in our case – ESP32. While we worked on our boards we found some issues in ESPHome, but fixes still not included to upstream. For now we providing to the user the patched version of ESPHome and looking forward for our changes will be included to the ESPHome
3. install ESPHome
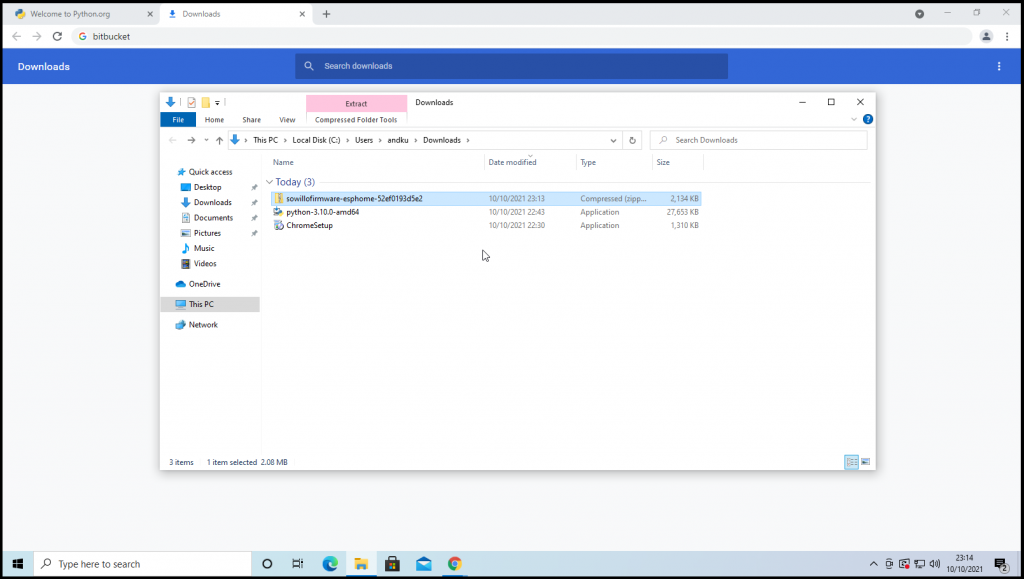
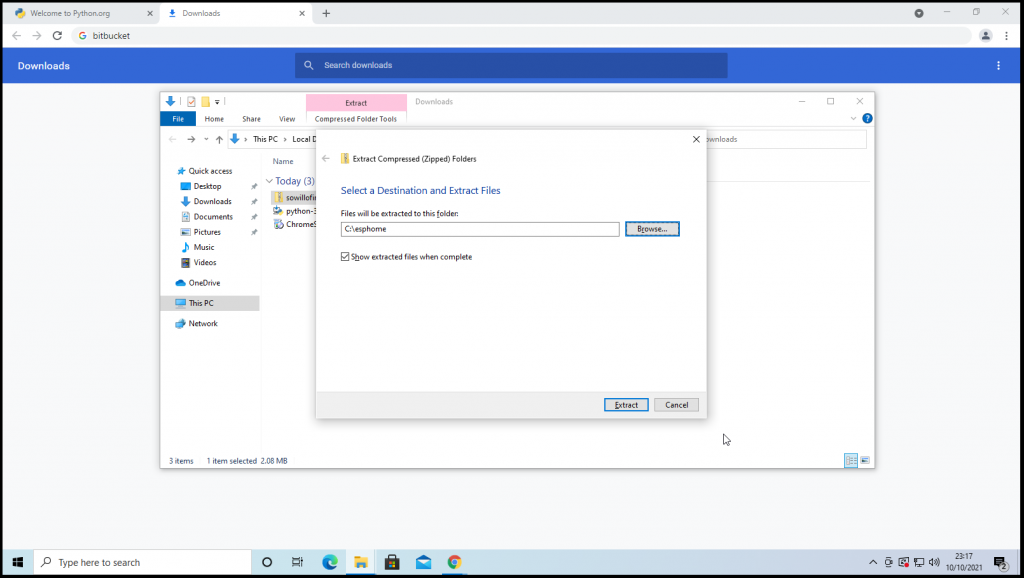
Unpack the ESPHome package to some directory. In this tutorial we’ll use the’C:\esphome’path.
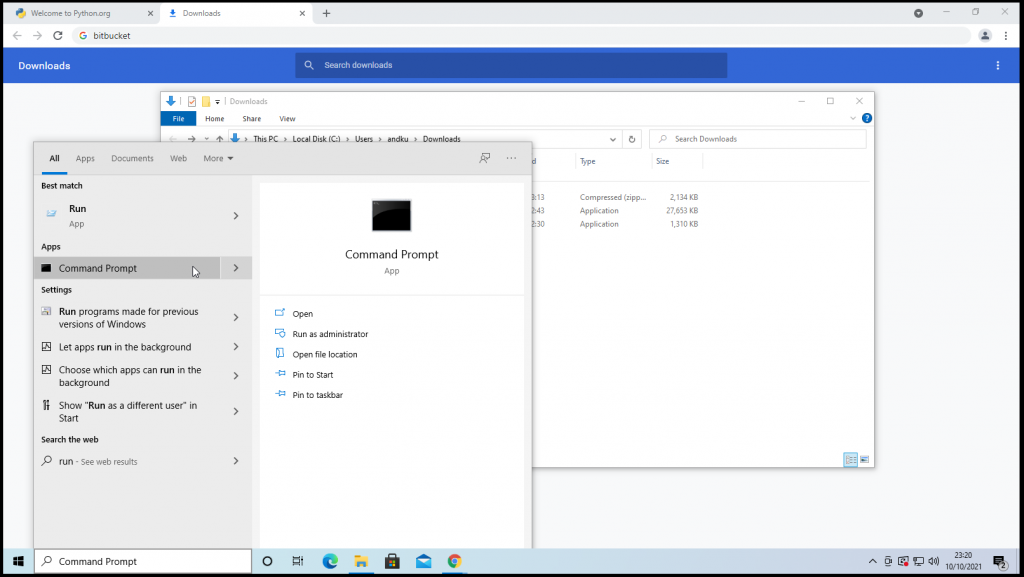
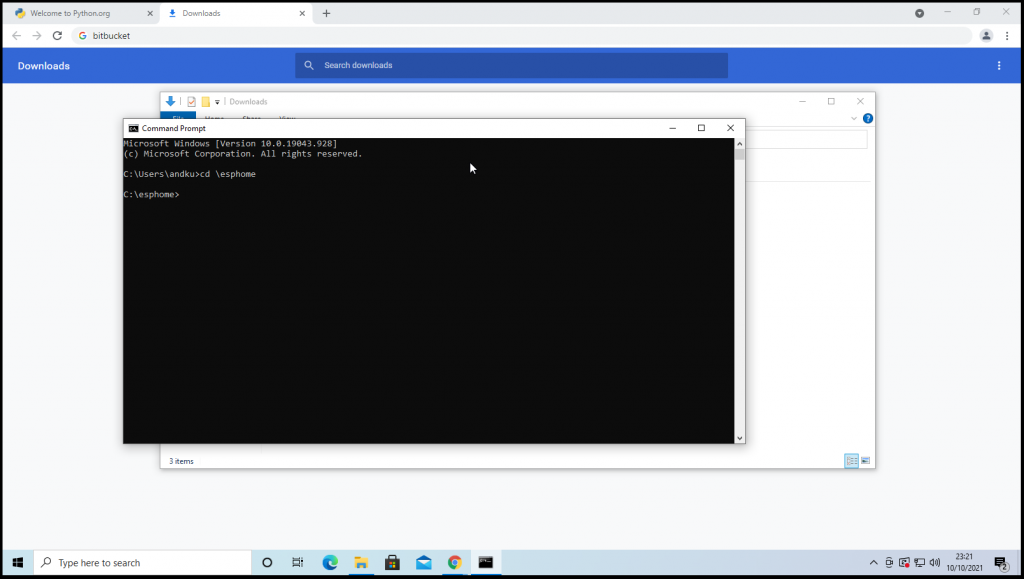
Open the Windows Command Prompt and navigate to the esphome directory. Note: this Command Prompt window must be opened after you installed python, not before.
cd \esphome
Now we’ll create the python virtualenv for ESPHome. Don’t worry, all further steps will not affect your system.
python -m venv esphome-venv

This will create a “esphome-venv” directory inside “esphome” with python virtual environment. Let’s activate it:
.\esphome-venv\Scripts\activate
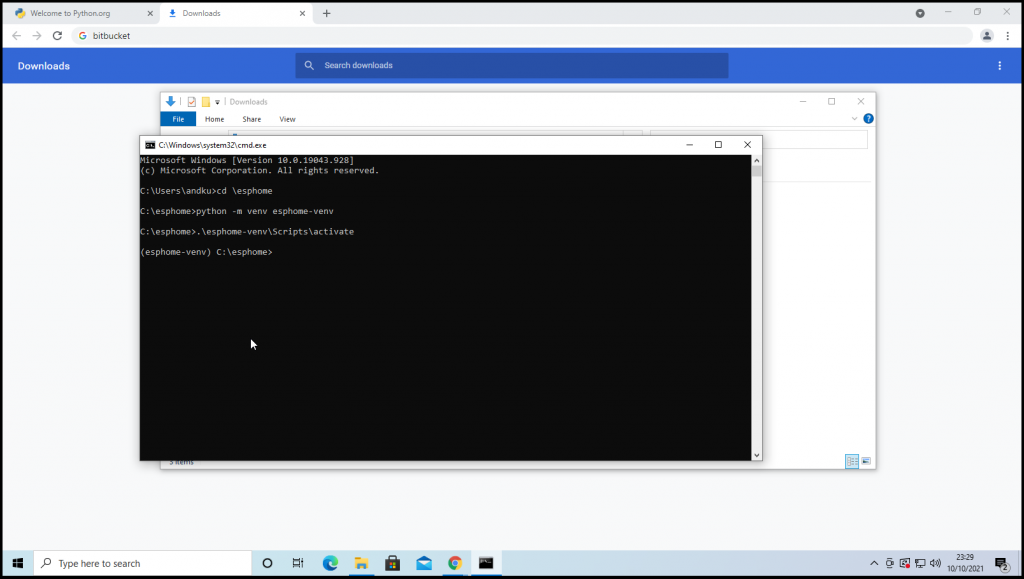
You may want to see the environment name at the beginning of the command prompt.
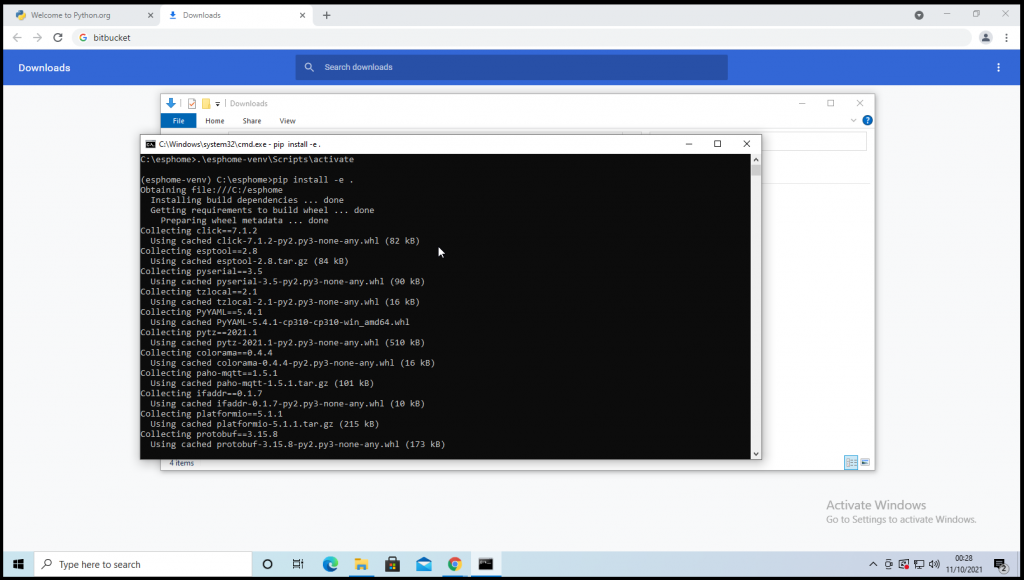
The next step is to install patched ESPHome package into this virtual environment:
(This command should be done from the esphome dir, don’t forget the dot at the end)
pip install -e .
Flashing dev board under windows requires the cp2102 win driver with enumerator, which could be downloaded by link .
4. Build firmware
Download the Sowillo’s configuration for the ESPHome https://rawcontent.sowillo.com/repository/binary-files-ext/latest/sowillo-esphome-configuration.zip
This archive contains the prepared configurations for the ESPHome.
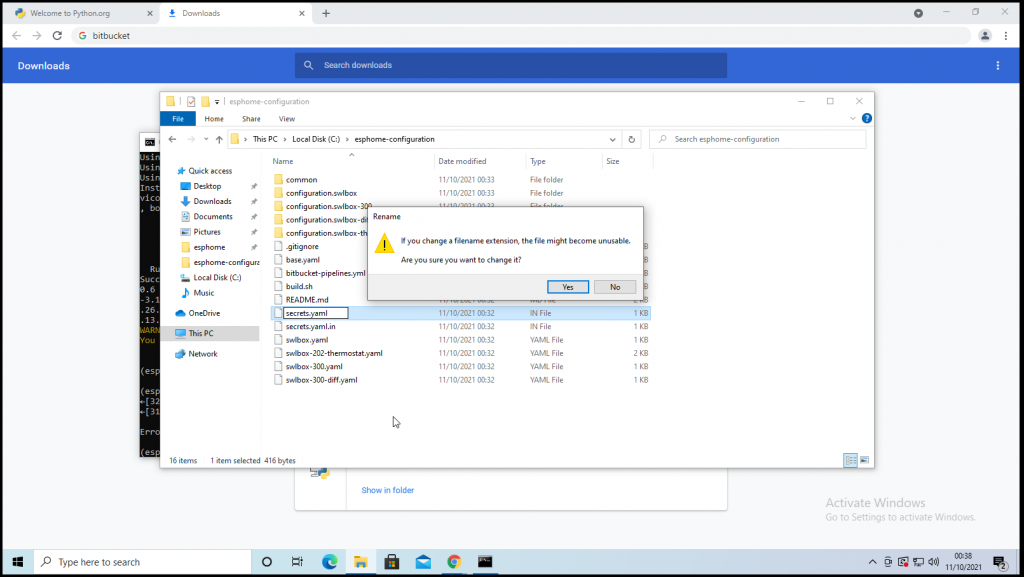
Unpack the configuration for the ESPHome archive to some directory. In this tutorial we’ll use the ‘C:\esphome-configuration’.
You can change them according to your own needs.
The mandatory step – is to create the secrets.yaml file in the root. You can copy it from the secrets.yaml.in template and fill it in secrets.yaml file (file extension must be .yaml). You may be interested in wifi “wifi_ssid” and “wifi_password” fields that allow the board to connect to your wifi. Also you may want to configure “mqtt_broker” and ‘mqtt_port’ on your mqtt broker.
Use the virtual environment that you created in the step above (esphome-venv). If you already closed the Windows Command Prompt – just open the new, navigate to the esphome directory and activate it:
cd \esphome
.\esphome-venv\Scripts\activate
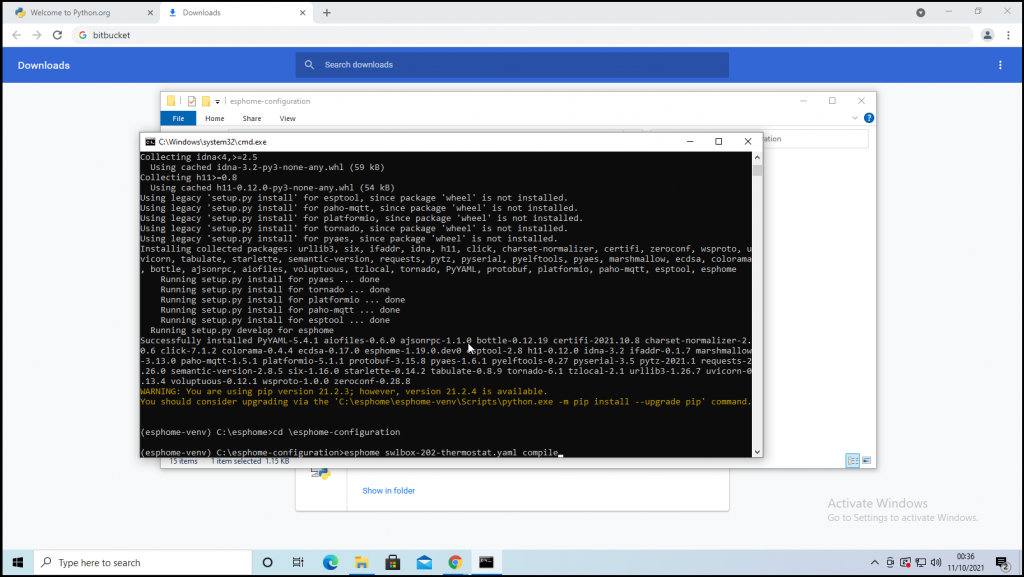
Now go to the configuration directory:
cd \esphome-configuration
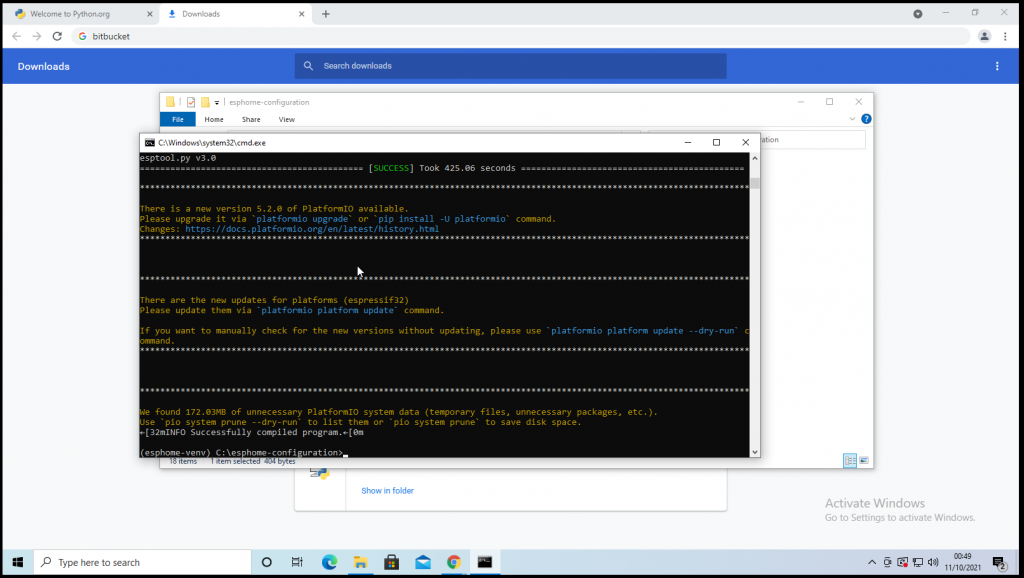
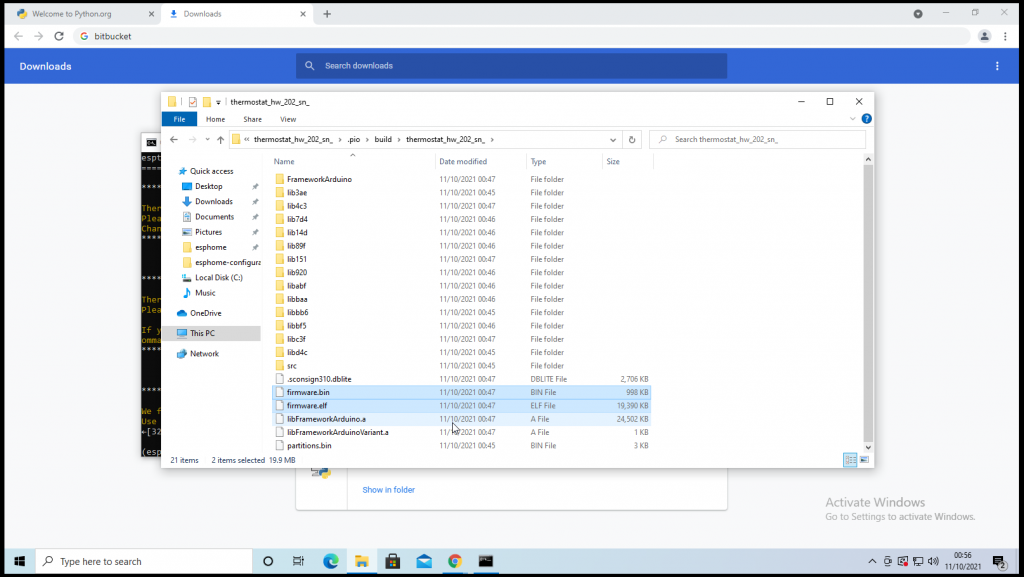
Finally you can build the configuration that you want:
esphome swlbox-202-thermostat.yaml compile
5. Flash firmware
Initiate uploading firmware to ESP32 board with console command:
esphome swlbox-202-thermostat.yaml compile
after checking firmware readiness enter proper COM port connected to ESP32 board, or choose On-Air updating – if the board was flashed, but Firmware Over The Air update is necessary:
That’s it!